
Home Measured Survey Guide
Surveying your own home can be an incredibly useful skill, especially if you are planning renovations or working with professionals. This guide will walk you through a simple, safe, and effective way to measure your home. Remember, not all dimensions need to be taken—focus on what is most important for your project!
Key Points to Remember:
Not every dimension needs to be taken. Focus on the most critical ones for your project.
Safety is paramount—never put yourself at risk trying to get a dimension. If something feels unsafe, leave it for the professionals.
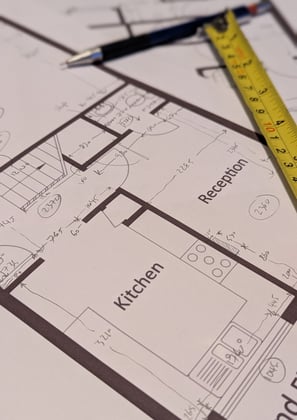
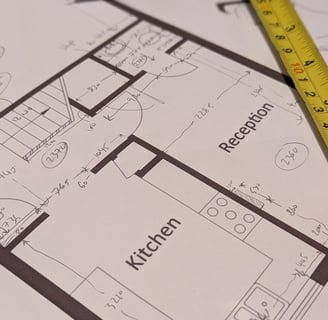
Photos and sketches are invaluable. They will help clarify measurements and give context to your recorded data.
By following these steps, you should have a comprehensive set of measurements and a clear picture of your space!
Step 1: Plan Your Approach - Sketch the Rooms
Before measuring, it's essential to get an overall sense of the space. Grab a piece of paper (or even print out the estate agent plans) and sketch out the rooms you're measuring. This sketch should include:
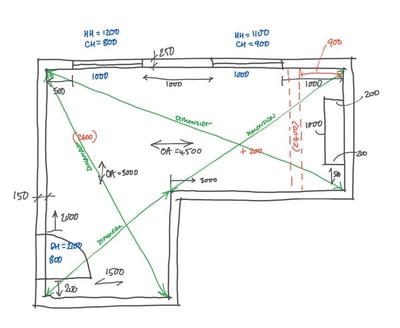
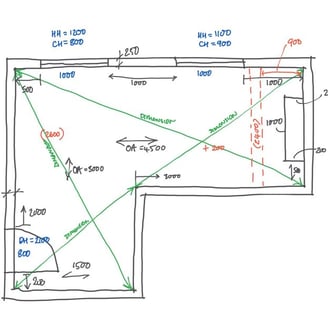
Overall dimensions of the room, including wall lengths and widths.
Labels for each room (e.g., Kitchen, Living Room, Bedroom 1).
Particular areas of interest, like alcoves, windows, and any protruding sections of the walls.
For complex rooms, break it into smaller sections.
Step 2: Measure Ceiling Heights
Now, measure the ceiling height in each room. This will be helpful for any potential projects or renovations that may involve the ceiling (e.g., installing shelving or lighting). I like to place the ceiling dimension in a circle for easy reference.
IMPORTANT. If you're thinking of a loft or room-in-roof alteration, then ceiling measurements to determine the roof slope are crucial.
Usually two dimensions a set distance apart up the slope can be enough. Also pin pointing where the slope hits your flat ceiling is useful.
Step 3: Measure Door and Window Dimensions
For each door and window in the rooms you’re measuring, take the following dimensions:
Width of doors: Measure the opening width at the door frame.
Height of doors: Measure from the floor to the top of the door frame.
Window dimensions: Measure width and height, noting their distance from the floor.
Remember, only measure what you can safely access. There’s no need to climb ladders or take unnecessary risks.
Step 4: Gather Photos and External/Special Features
Take photos of the property, including the front, sides, and back of the house. External photos will be useful for context, particularly if you have a brick-built house, as you can count the number of bricks for floor to floor heights.
Also, measure the garden, including:
Manhole locations: These may be important for plumbing or drainage work.
Large trees: Document trees near the proposed works area, as their roots can impact construction plans.
Other features: Note things like fireplaces, built-in storage, or anything that might need to be accounted for in your design.
Specific areas of interest, like sheds, paths, or any trees.
Tip: Garden measurements are key for understanding permitted development constraints.
As you measure, make note of any special features that may impact your project:
Step 5: Organize Your Measurements and Sketches
Once you’ve taken all the measurements and noted any features, it's time to organize your work:
Label each room clearly with its dimensions on your sketches.
Ensure you’ve marked out any areas of interest (windows, doors, etc.).
Create a list of special features (manholes, trees, etc.) and keep it with your sketches and photos.
Safety First: If there are any measurements you cannot take safely, leave them for a professional or just make a note of the area for later reference. Your safety is the priority!
Downloadable PDF guide coming soon